Life has been very busy lately, so progress has been extremely slow. Despite this, I did get some noticeable work done, which was constructing the new section to the small town of Northport, WA. This included building intricate benchwork to accommodate for a future staging yard under the shelf, laying roadbed, building turnouts, laying track, and wiring. Everything is complete except for the trackwork and wiring, which only includes the main line and a passing siding in Northport. One other thing I had to construct before progress could continue, was an 80' long pile trestle to closely match a few of the small ones the BN had along the Columbia River. This bridge is freelanced, but is fairly close to the prototypes except just shorter length wise and in height.
Here are a few photos of the pile trestle.
Here's some more overall shorts of this Columbia River scene.
Here's a few prototype photos of this area. They are not taken at the exact locations that I'm trying to model in this short scene, but hopefully you'll understand the ''feel'' I'm striving for.
Bill Hooper photos:
Marty Bernard Photos of the Kettle Falls International RR:
As we wrap around the corner, the line goes through the small town of Northport, WA. This town was home to an enormous smelter and saw mill and pole mill. This is also where the Red Mountain RR interchanged with the Spokane Falls & Northern RR in the early 1900's. There is also a wye here for turning around the steam locomotives. In the 80's, there wasn't much action. The smelter burned down before the 80's and a lot of the other little industries went out of business. Since there isn't much info about Northport in the 80's, I took the liberty to freelance a little, involving the industries that I would like to model. I don't have much space for this town so, I can't include everything, but I want to model the depot area (the depot is already made), the pole mill, MOW track, ore dump track, passing siding, and possibly a team track or oil dealer.
Here's what I've got so far.
Here's a blueprint Mr. Bob Kelly from the Great Northern Historical Society sent me. Thanks Bob!
Well, that concludes this update. My dad and have been working on putting tile in this room lately which should be done here soon. I can't wait! The current flooring is bare concrete, which is horrible in appearance and it creates SO much dust. I know tile isn't the best material to use in a train room because it is hard on the feet when standing and it's also really cold, but my parents are paying for it, thus they get their way.
Modeling the Burlington Northern Railroad in the early 1980's from Kettle Falls, WA to Salmo, British Columbia
Salmo Local leaving Kettle Falls yard
Showing posts with label trackwork. Show all posts
Thursday, December 19, 2013
Sunday, June 23, 2013
turnouts....
I've had a few questions about my turnouts and how I power route them. I'll try to answer this as best as I can. First of all, most of the turnouts were built will a fast tracks jig, although a few were handbuilt with wood jigs and paper templates. The turnout control is SUPER simple, but hard to explain. I wanted to power my frogs on the turnouts, but I didn't want pay bukoo bucks for the Tam Valley Juicers or tortoises. So, I went to an electrical supply place and found DPDT slide switches for 25 cents each. To begin with, I first put a hole in the homosote next to the throw bar of the turnout big enough for the switch to fit in and I also drilled a 1/2'' hole through the underlying plywood in which I dropped the feeders from the switch. The side tabs of the switch are connected to the power bus depending on your track feeder system. For mine, the white wire is the inside rail, so the side tab closest to the side of the layout is connected to the white bus. Outside tab to black bus. The middle tab is connected to the frog. I mount the switch with wire nails and cover it with a piece of styrene. I then drill a hole in the side of the switch and fit a straightened paper clip in it and solder the other end to the throw bar. Once this is all done, I add the headblock ties and make a target to make it look more realistic. It takes about 20 minutes to build one of these.
Here's the final product. In the future I'll add more pictures that follow the construct process.
Saturday, April 13, 2013
The Golden Spike
Finally, all my trackwork is complete for the Kettle Falls yard, engine facility and surrounding industries. The trackwork consists of code 83 and code 70 Micro Engineering flextrack and handlayed code 70 track. The turnouts are handbuilt using fast tracks jigs and homemade jigs. The turnouts are all #6.
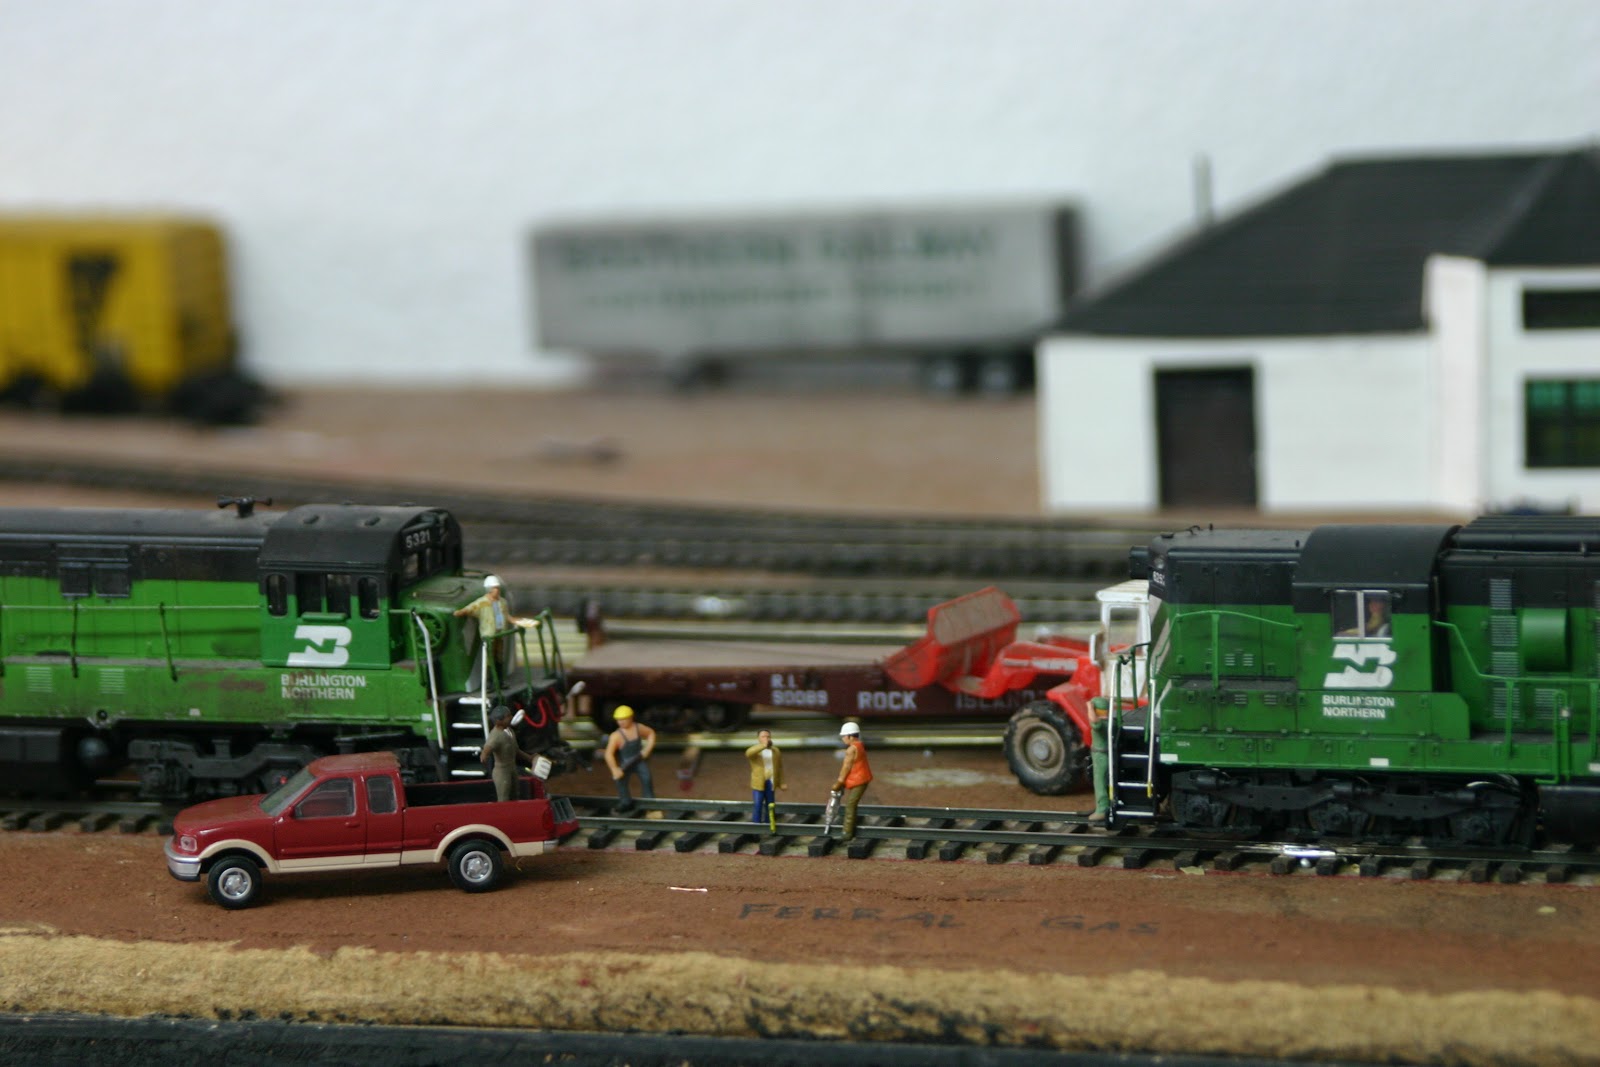
So, with all that said, here are few photos of the ''ceremony.''
Wednesday, February 20, 2013
Almost Golden Spike Ceremony!
I finished all of the Kettle Falls yard a few days ago. It contains 17 hand built turnouts(fast tracks, hand layed using homemade jigs, and Railway Engineering turnouts). About 70% of the track is Micro Engineering code 70 and 83 flextrack and the other 30% is handlayed. So, all of it is completed except for one small industry spur that hasn't been completed yet because I ran out of track spikes. I'll do a "Golden Spike Ceremony" once that spur is completed. Anyway here are some photos of the completed yard, engine servicing facility, and a few industry spurs.
Subscribe to:
Posts (Atom)